3. Add Slides and Content
Now that we have a PowerPoint document, and the document has been set up correctly we can start populating and creating slides. We will use the content created in Lesson 01 as per the Brief at the start of the unit.
3. Main Idea Slide 1 -Textboxes and Images
We will add a new slide and use images and textboxes to support our script in explaining our first main idea.
Complete the steps below:
- Start by inserting a new slide, but this time choose the “Title Only” option.

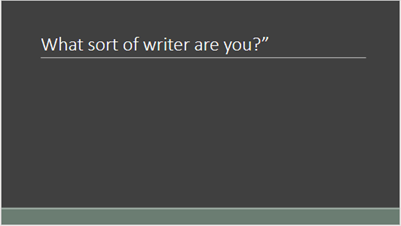
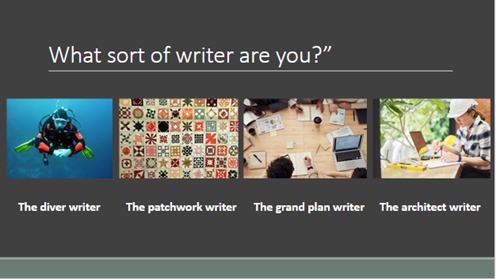
2. Add the following title to the slide: “What sort of writer are you?”
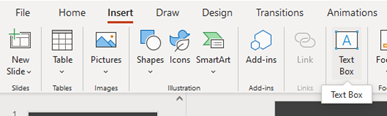
3. From the Insert ribbon, click on the “Text Box” option. This will insert a textbox on the slide.
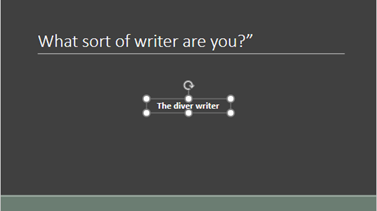
4. Select the new text box and replace the holder text with “The diver writer”. Increase the font size to 24pt, Bold the text and centre the text by using the Font and Paragraph tools on the Home ribbon.
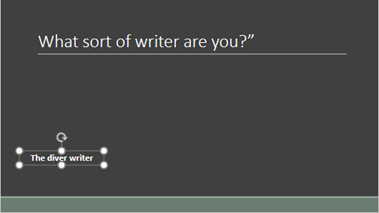
5. With the textbox still selected, hover your mouse or curser on the border until the icon changes to four pointing arrows and then drag the textbox left and more towards the bottom to allow space for four images and textboxes as per the image below.
-
Insert three more textboxes with the same formatting as the previous one and aligned and spaced across the slide with the following text:
-
The patchwork writer
-
The grand plan writer
-
The architect writer
7. If you have difficulty aligning and distributing the textboxes, you select all the textboxes, by holing in shift and clicking on the textboxes or holding in the right mouse button and dragging the square that appears over the text boxes, then use the Arrange > Align > Align Top and Arrange > Align >Distribute Horizontally options. You can also use the dots that appears on the textbox border to scale the textbox up and down.

8. Your slides should now have four textboxes that are aligned and distributed evenly.

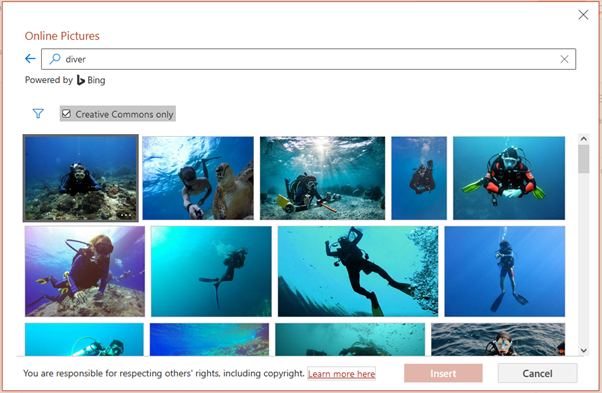
9. We can now add four images to represent the writer types. On the Insert ribbon click on the Image > Bing pictures… option.
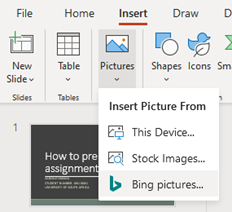
10. On the Bing image search box that appears, search for diver and select an appropriate image and finally click on the Insert button.
11. Scale the image and align the image above the “The diver writer” textbox.

12. Add appropriate images following the same steps as above for patchwork, grand plan and architect and arrange them above the relevant type. Your images might be different, but the slide should have the following layout:
-
Your slide now contains all the required information to support your script and you can now add your script developed in Lesson 1 to the notes section. Below is an example script to add:
Divers start to write early on and so find out what they want to say. They work towards a plan instead of with a plan.
Patchwork writers analyse the topic into sections and then combine the sections with linking words and transitional phrases.
The grand plan writer does not start writing until they have an almost complete picture of their essay in their heads.
Like an architect, the architect writer first has to have a structure before they can start writing. They create complex plans or lists early in the writing process.
So which kind of writer are you?
The first main idea slide is now complete and you have learned how to insert textboxes and images.
We can now continue to add the second main idea slide to the presentation.