Activity: Create and send an email
Completion requirements
The podcast below deals with good email etiquette.
This is a transcript of the podcast.
Note: When you reply, you will need to click on the "Advanced" link to be able to upload an attachment.
View
Make forum posts: 1
Send an email to yourself but write it as if you are writing to your lecturer asking a question about one of your assessments. The email must have an attachment.
In the chat below paste a picture of your sent email, showing the attachment and the body of the email. Then reflect on what you struggled with in this activity.
Use the following guide on how to create screenshots in Windows: Use Snipping Tool to capture screenshots - Microsoft Support
Use the steps below to create your email.
- Open http://portal.office.com/
- Sign in with your Unisa myLife email address and myUnisa password.
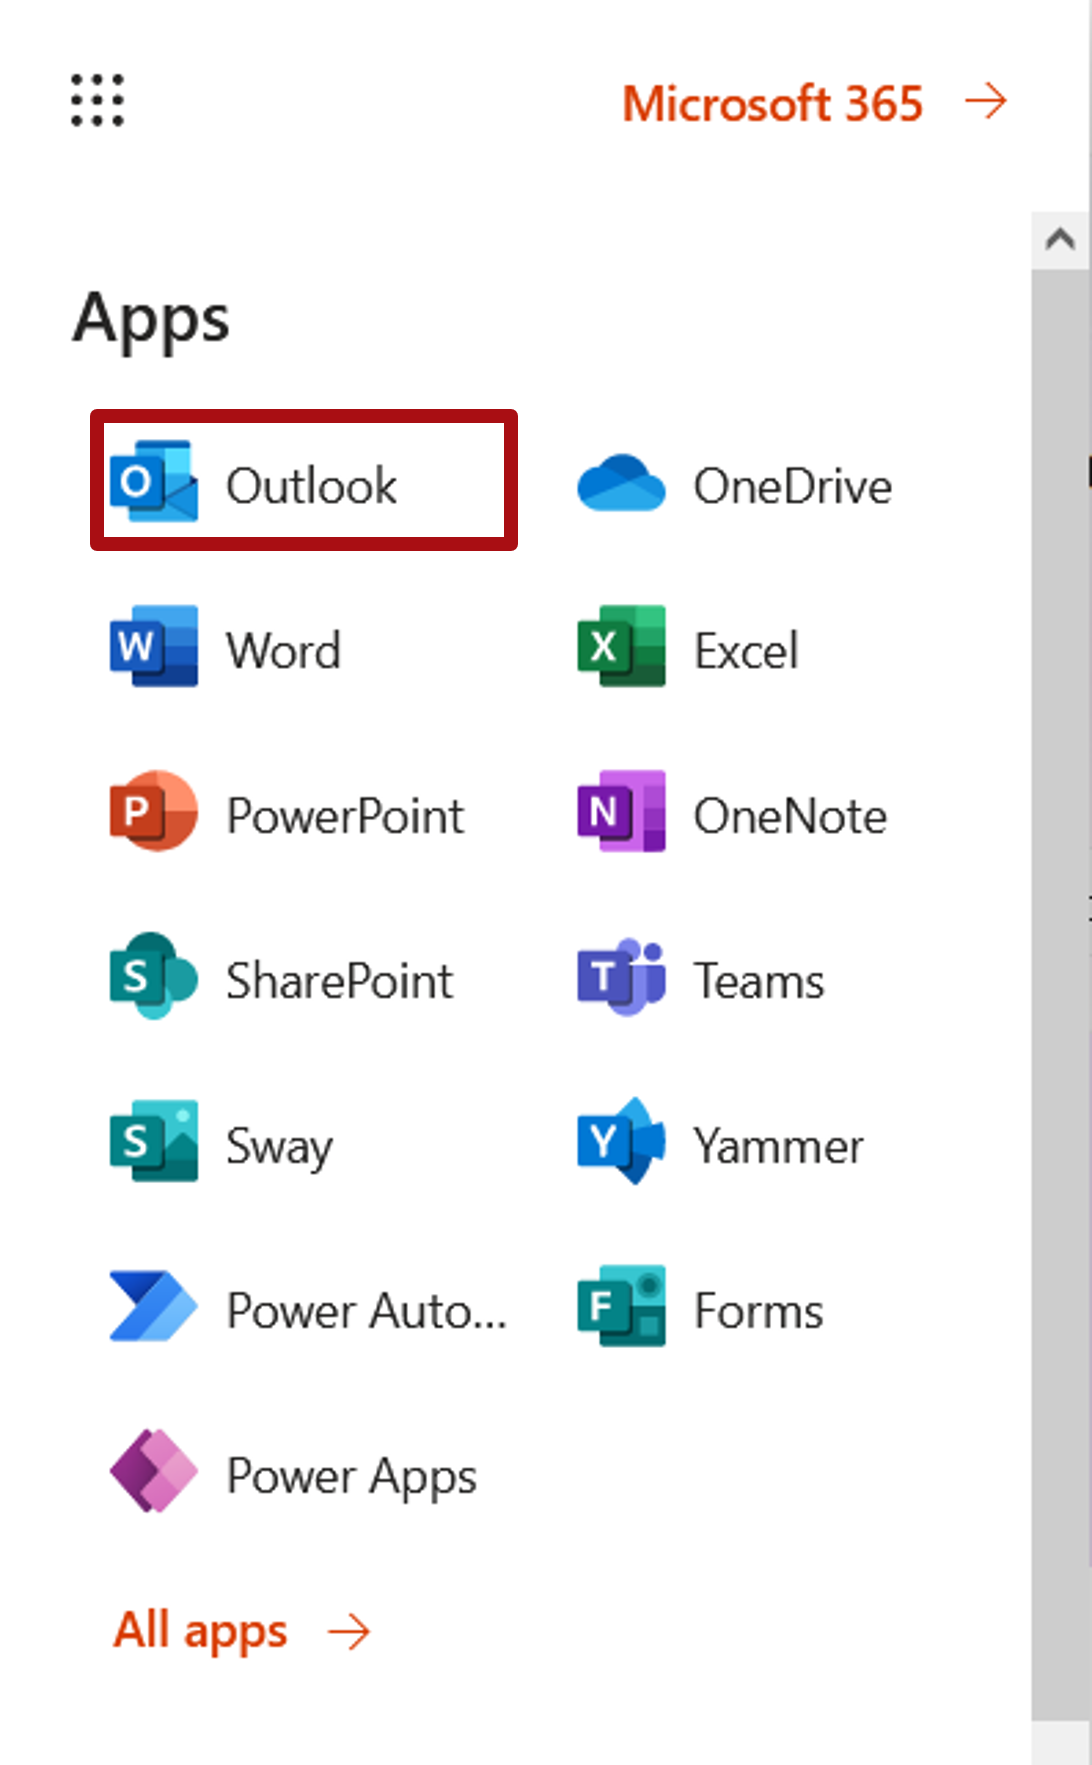
- From the "App launcher" select "Outlook"
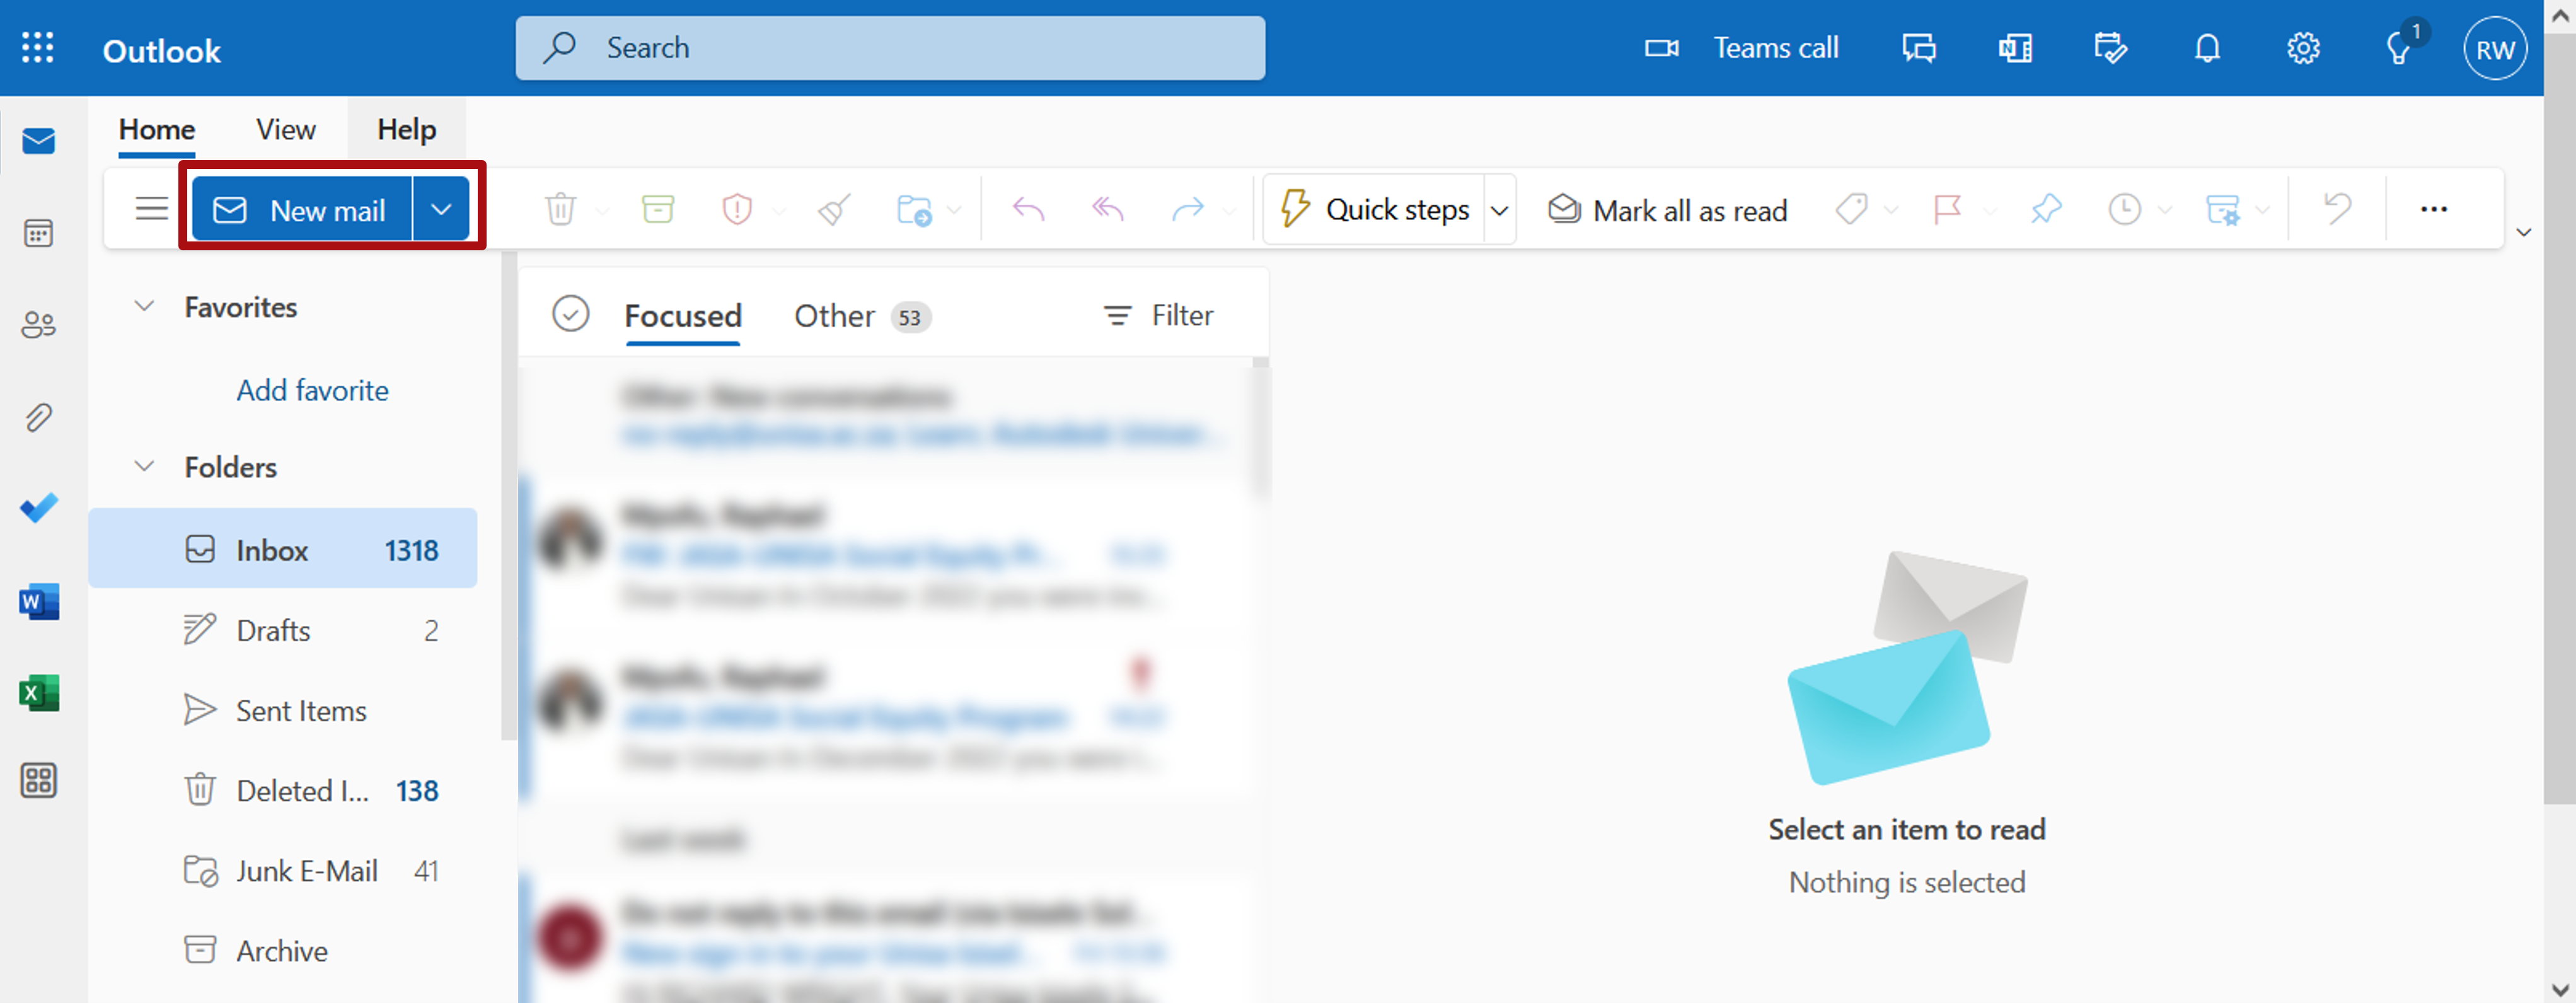
- Click on the "New Mail" button to create a new email.
- Note the different sections to be complete: To who the email must go, the subject of the email and the body message of the email.
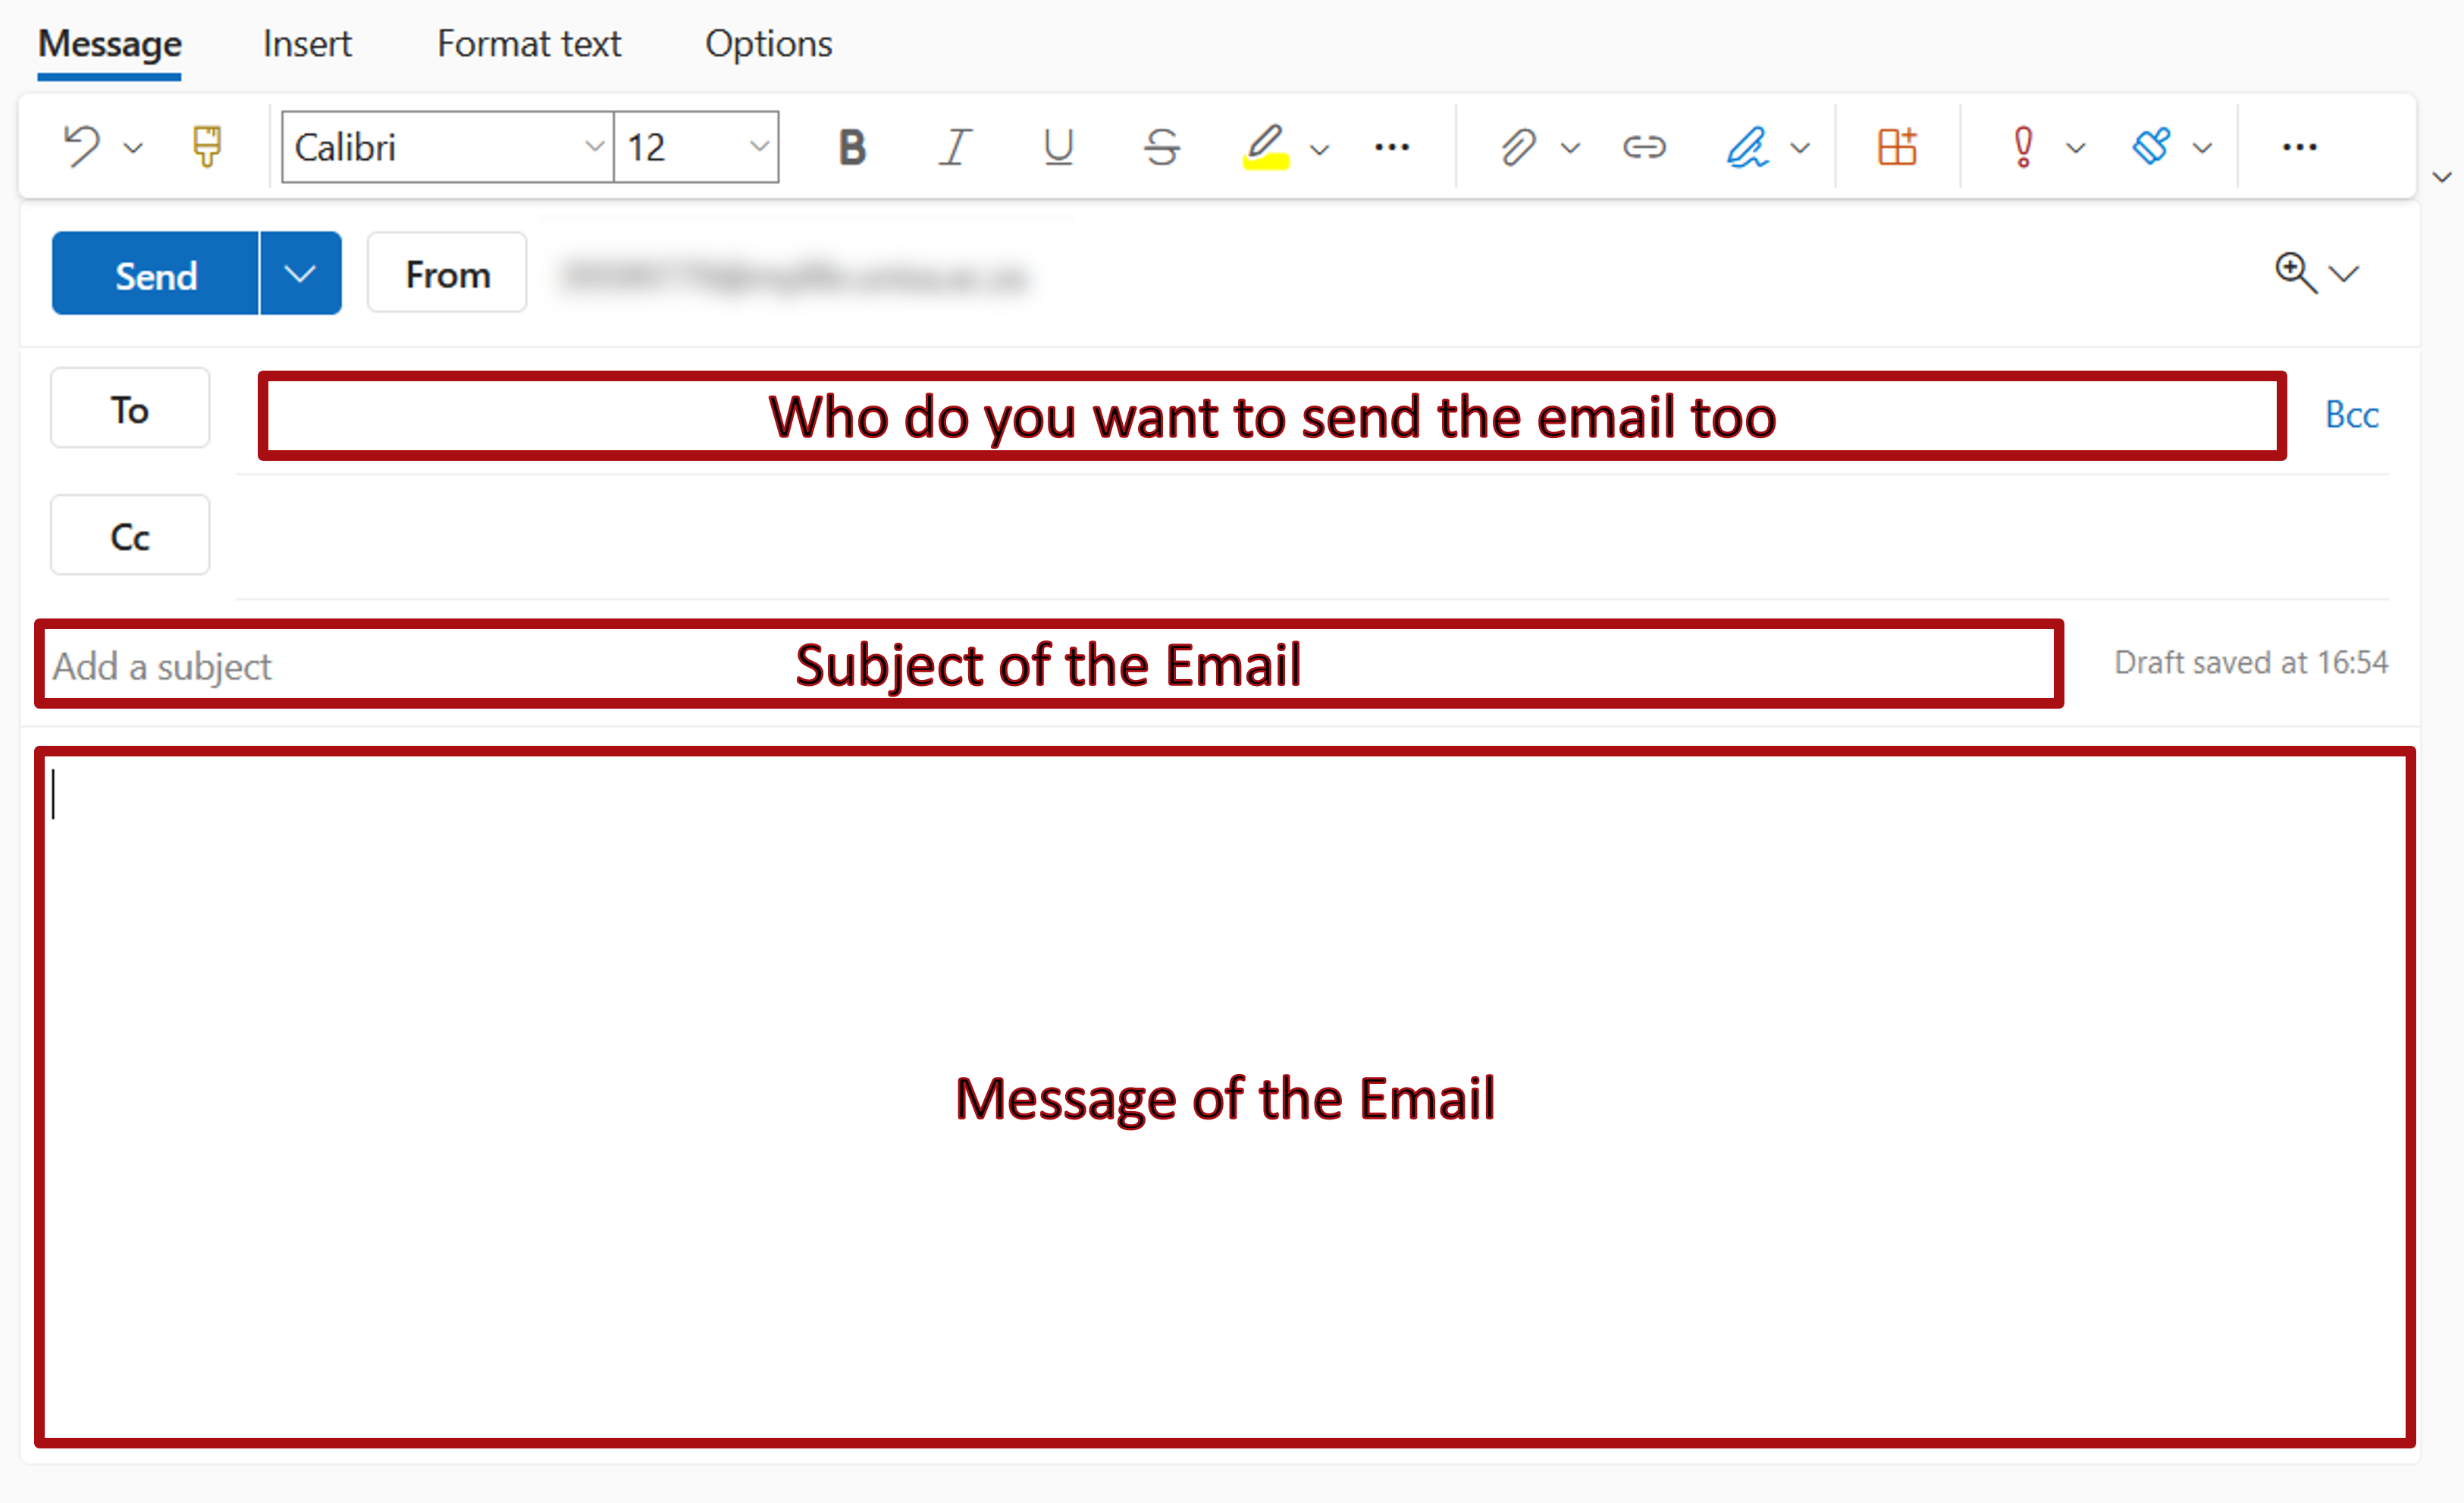
- First decide WHO is the message to. That is the email address you have to type in. Be careful to type your address in correctly. Check your tutorial letter for your lecturer’s email address, and the Unisa webpage for other Unisa emails (https://www.unisa.ac.za/sites/myunisa/default/Enquiries )
Note: Unisa has a number of email addresses for student queries – make sure that you use ONLY those emails for student queries. Do not email multiple emails, because your email will not be answered because everyone will assume someone else did it. - Next, add a subject that your email is about. This helps the receiver to know what the email is about. The subject should be short and concise.
Note: If you send an email to a Unisa support email, then always include your student number in the subject line. - Click in the body of the email and type your email in there.
Note: To be a good digital citizen, write your email with the following basic rules.
- Greet the person you are emailing. If you are emailing a general email, just include a greeting.
- Identify yourself and the issue that you are emailing about.
- Give detail and evidence about the issue.
- Include any necessary documents related to your query.
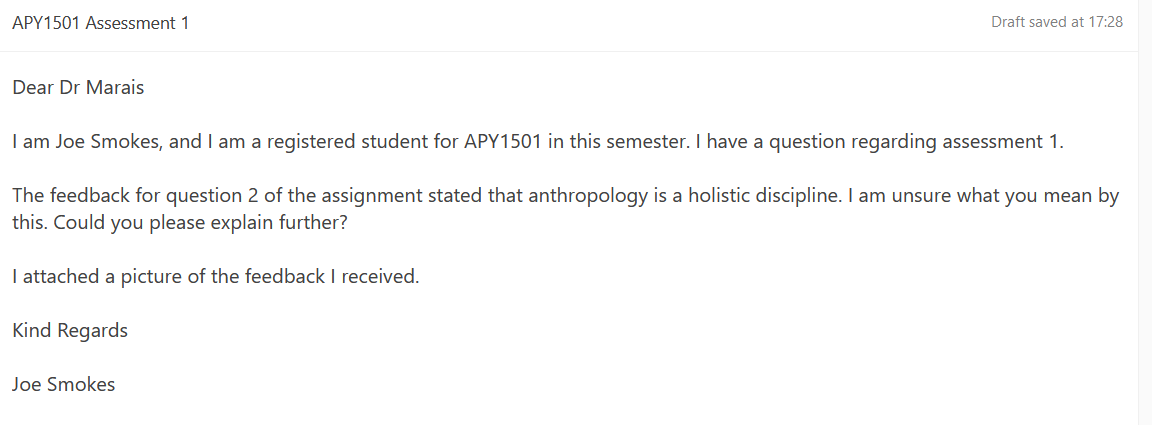
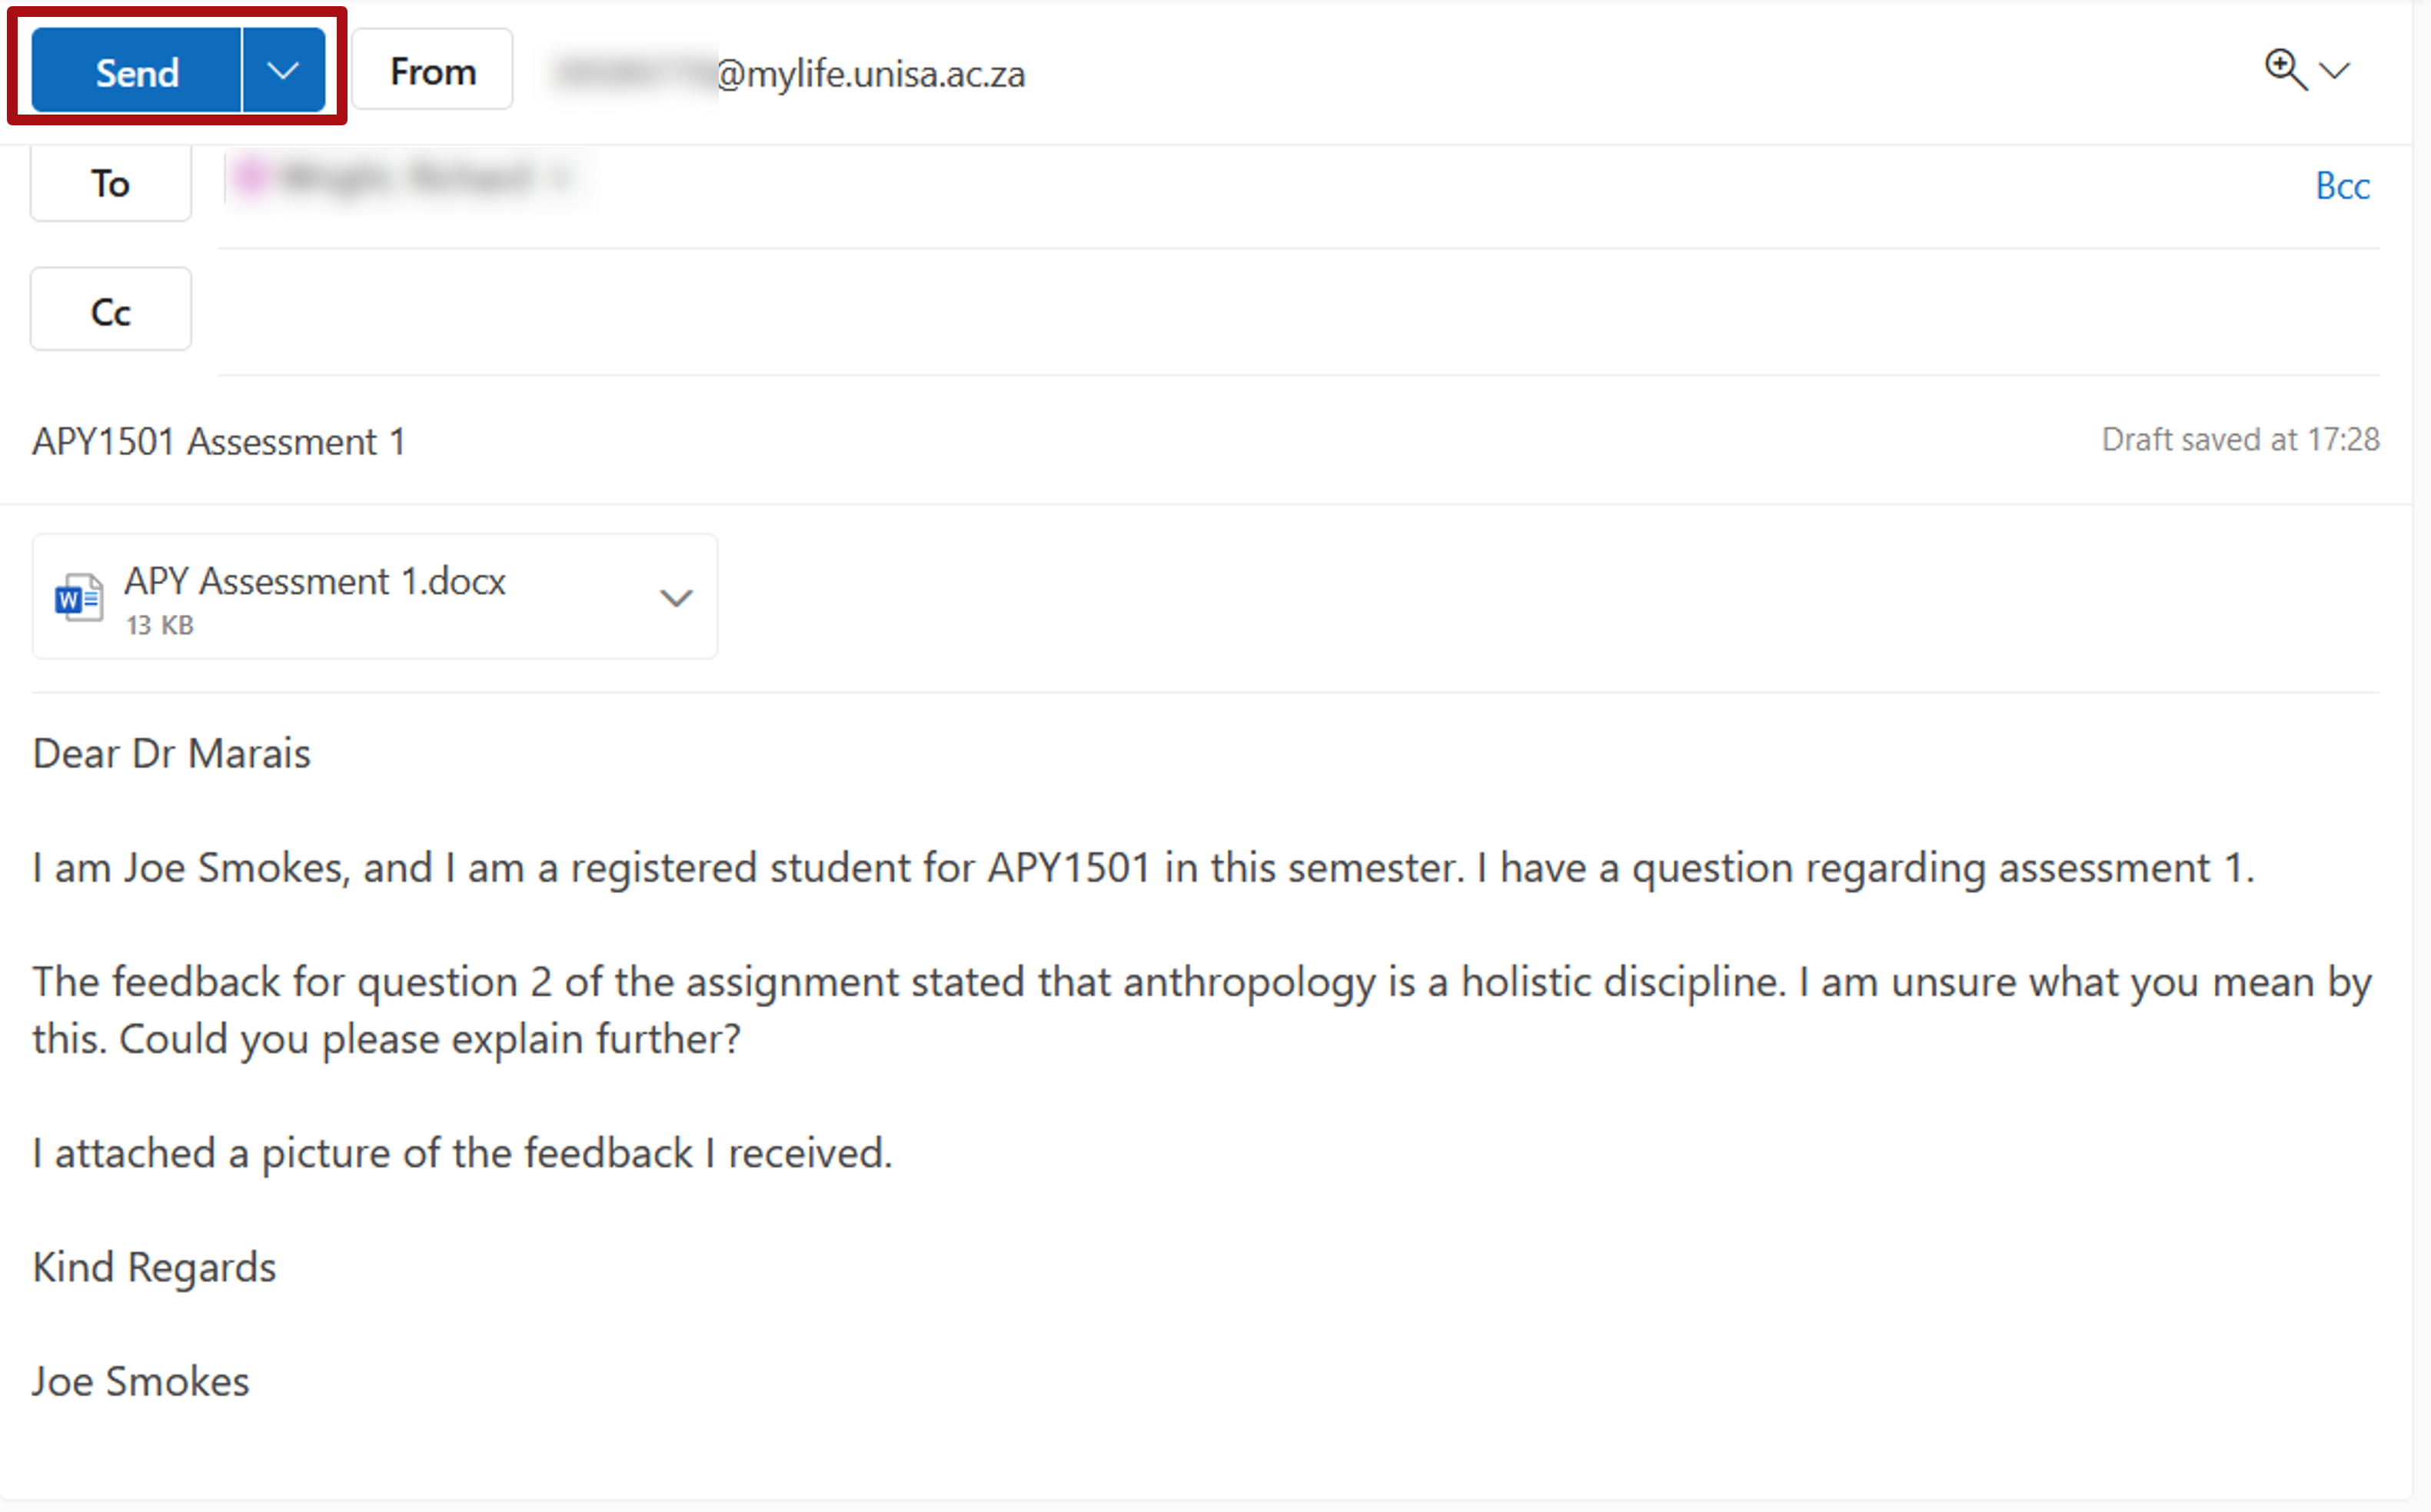
- End your email with a greeting and your name. - Below is an example of a properly structured email:
- Attach any documents that you want to include by clicking on the "Insert" ribbon button and then the "Attach file" button. You will have three options to choose from – Browse this computer, OneDrive, Upload and share. Choose where the file is that you want to upload.

- Once you attached a file, the file will appear under the subject line.

- Reread your email to make sure everything is correct, click on the "Send" button.
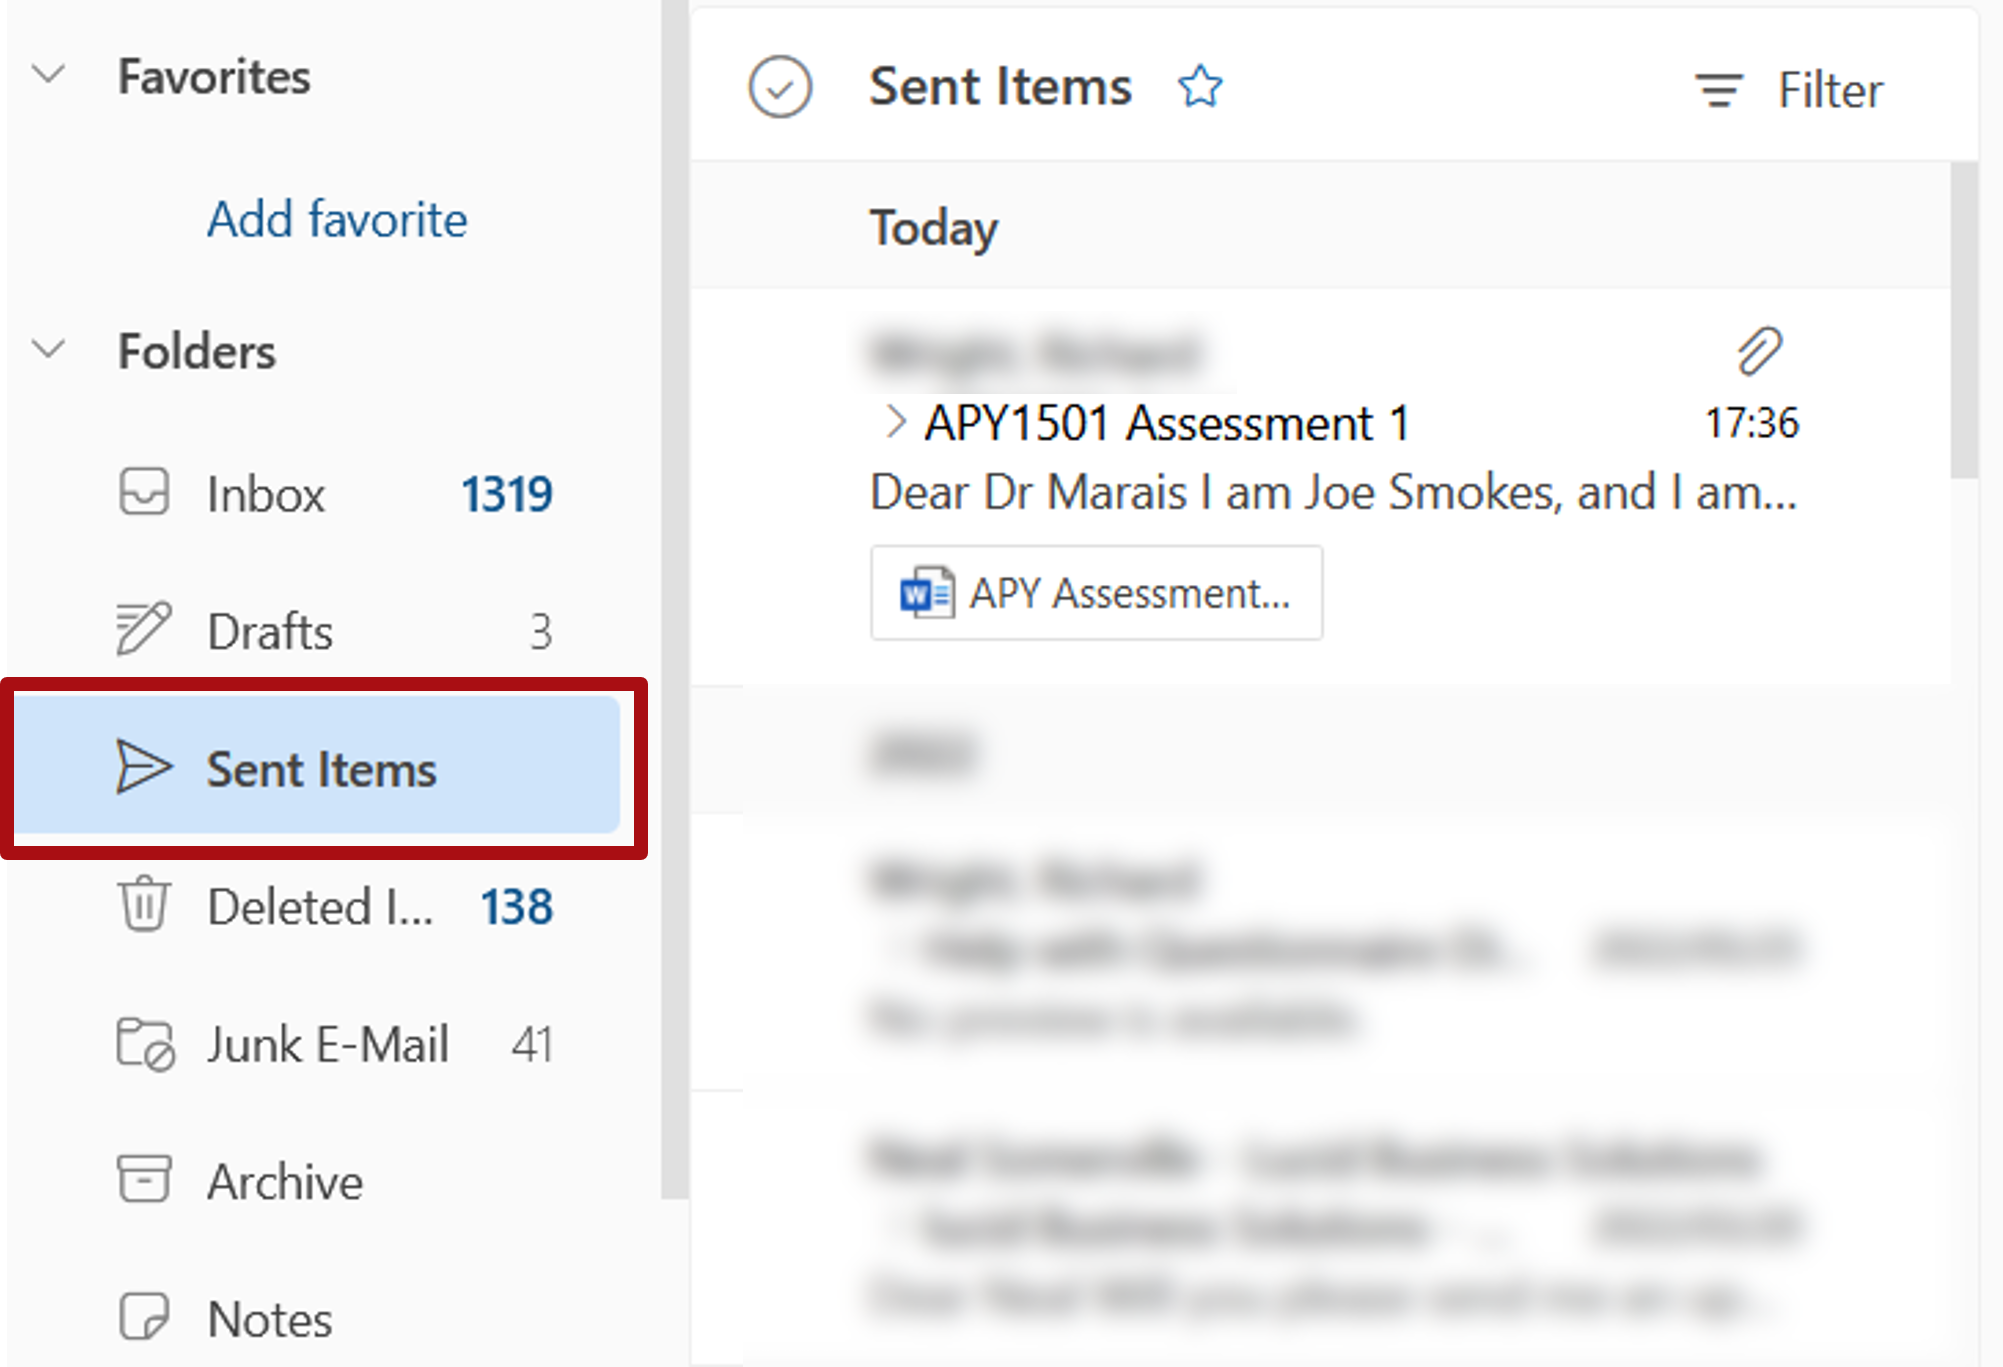
- You can make sure the email was sent by clicking on the "Sent Items" left menu link and ensure the email is there.
The podcast below deals with good email etiquette.
This is a transcript of the podcast.
Note: When you reply, you will need to click on the "Advanced" link to be able to upload an attachment.